I managed to design a lab rebuild. From the ground up. From Digital 3D to physical. I do not know if I will ever get the chance again. I finally got round to writing this post late 2026.
The old labs
I have failed to find many photographs on the old labs in the school archives that do not include students. I have two that show a small chunk of the lab. I also hesitate to spend too much time criticising them because they were the darling of some past designer with the vision of how science teaching should occur. Perhaps the problems were a result of changes and renovations in the previous decade.
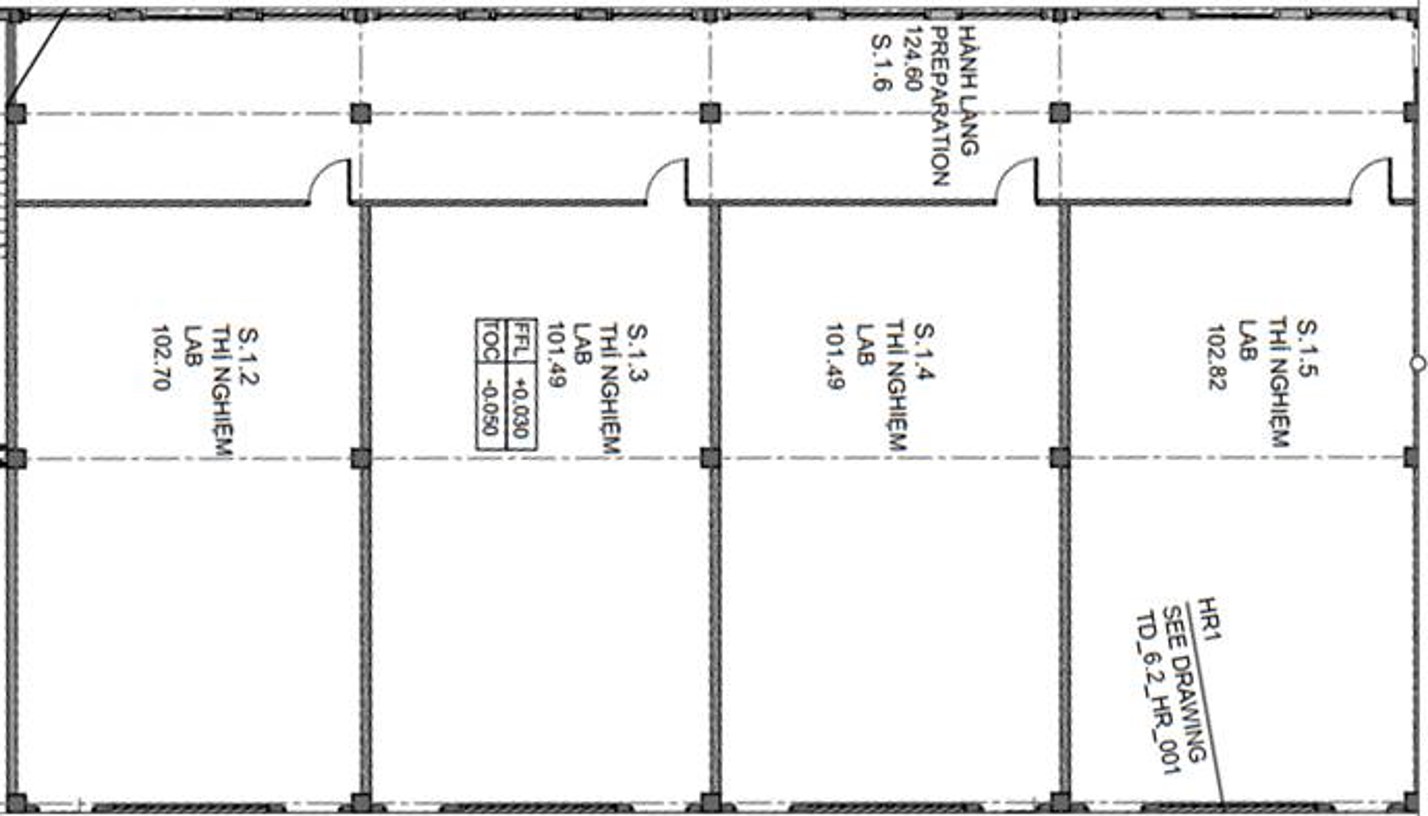
I also have my old seating plan. Black are fixed lab benches. Grey are movable high desks. I leave you to form your own opinion.


A bad meeting
For several years, the possibility of rebuilding our science laboratories had been discussed, largely without involving the Science Department. Then, rather suddenly, we were told the rebuild was going to happen over the summer.
We were presented with plans that appeared to have taken little account of our earlier feedback. Typical. The design was already agreed and that we were being given a token opportunity to suggest relatively minor changes.
Our response reflected that understanding. We submitted a document containing our concerns and suggestions.

A summary of our design proposal
Focus on collaboration and safety.
- Hybrid spaces are bad for both teaching and laboratory work. We wanted to separate the rooms into two main areas: a theory side and a practical side[1], or a theoretical core and a laboratory perimeter[2]
- Junior Science Lab for Years 7, 8 and Primary.
- We wanted students standing during practical work. Lab stools send the wrong message.
- We did not want students sitting near gas fixtures or equipment that could be dangerous, even when not in use. This also simplified the issue of “hot labs”, where hot equipment cannot always be cleared away before the next lesson.
- There needed to be a good demonstration area for the teacher.
- We wanted normal tables and chairs for students on the theory side. Theoretical learning should not be uncomfortable or an afterthought.[3]
- The window side needed to be a safe place for laptops, bags and books that could be damaged during practical work.
- Whiteboards for experimental results.
- Room for laptops using digital sensors at lab tables.
- Two fume hoods, back-to-back, in the Biology and Chemistry labs.
- Ceiling anchor points to safely hang pendulums and other physics apparatus.
- Separate technician workbenches for wet and dry work. Previously, he did everything on one lab bench.
- A dedicated area for books.
[1] Academic Laboratory | WBDG – Whole Building Design Guide
[2] https://dla-ltd.com/portfolio/science-classroom-design-breaks-boundary-lecture-lab/
[3] How to design the perfect school science lab – Envoplan
Designs we liked


Designs we disliked


The Head of School’s response was memorable.
“How disappointing.”
Mark Sayer 2023
There was an element of learned helplessness: after years of discussions taking place elsewhere, we had little reason to believe that we could substantially influence the outcome.
He had expected us to help shape the facilities. We believed we were commenting on decisions already made. He saw a group of unimaginative teachers who took a blank slate and returned with stale bullet points and boxy room layouts.
Once it was clear there was a huge misunderstanding, he gave us another opportunity.
The only thing that should stay were the structural pillars. The rest was fair game.
Re-Vision
This time, we approached the task differently.
Rather than simply offering suggestions on somebody else’s design, we considered what the Science Department actually needed. We developed our own alternatives, modelled the available spaces in three dimensions, analysed sightlines and reconsidered how laboratories, classrooms and preparation areas should interact.
Within about three weeks, we had assembled a substantial presentation with competing layouts and 3D mock-ups. This was an intense few weeks. The lesson from this period we later turned into a Conference Workshop titled Lessons from a Lab Rebuild: Defining your space. It was presented at the ASE south east Asia conference in March 2026. I will link to that post once I write that one up.
What had begun as a cautious consultation had become a genuine design exercise.
And the question underpinning it was deceptively simple:
How does this help them learn?
Every design decision needed an answer.
There was no point designing an impressive-looking room if students could not see demonstrations, if practical work was awkward to organize, or if the room was uncomfortable during the theoretical parts of a lesson.
Our initial proposal developed around three non-negotiables: safety, technician preparation capabilities and the experience of the people using the facilities.


I have to give a shout out to Sumeika. She went from having never used SketchUp before to the 2 labs and 2 Classrooms design within those two weeks.1
You can see the labs we designed by loading the SketchUp files John MCM skp-viewer
Designing for how science is taught

A science laboratory serves two purposes that are not always compatible.
Sometimes students need to stand around an experiment, manipulate apparatus, collect data and work safely with potentially hazardous equipment.
At other times they need to sit, listen, discuss, calculate and write.
Traditional laboratory furniture can be remarkably poor at supporting the second of these. A room designed entirely around laboratory benches can leave students spending most of their lesson sitting awkwardly on stools, looking at a board from an uncomfortable angle.
Even in the most practical-heavy curriculum, there should be an hour of planning, and hour of analysis and an hour of discussion for every hour of experiment time. So 75% of the time, the students are uncomfortable. We therefore explored separating practical and theoretical spaces, while keeping both readily accessible.
Safety was another major consideration. Rather than simply adding safety equipment to the room, we wanted the environment itself to reinforce safe behaviour.
We explored deliberate activation of power supplies, secure places to clamp apparatus, clear distinctions between practical and theoretical work, and the removal of stools from practical workstations.
Design for the behaviour you want.
The Central Preparation Room

One of our most successful design decisions was placing the technician preparation room at the centre of the science complex, with enormous windows looking into the surrounding laboratories.
Of all the features of the rebuild, this is consistently one of the most admired by visiting science teachers.
The central location means equipment, materials and tools are only a short distance away, making it much easier to respond to unexpected needs during lessons. Teachers can quickly communicate with the technician without having to leave the science complex or search through distant storerooms.
The large windows also allow passive supervision of the surrounding spaces. Staff working in the preparation area can see what is happening in neighbouring laboratories, particularly useful when students are conducting approved independent investigations.
It is a relatively simple design choice, but one that has transformed how the whole science complex operates. Rather than hiding the technicians away in a back room, we made their workspace the physical and operational centre of the department.
Demonstrating Science

Another weakness of our old laboratories was the lack of a proper demonstration area.
Prediction-based demonstrations are an exceptionally powerful tool for developing conceptual understanding, potentially even more effective than students conducting experiments themselves.
The key is the prediction. Students must first commit to what they think will happen and explain why. They then observe the demonstration, compare the outcome with their prediction and reconcile any differences. This is the Predict–Observe–Explain approach.
Unlike a practical lesson, where students can become distracted by setting up equipment, taking measurements and following procedures, a well-designed demonstration allows the entire class to focus on one physical phenomenon.
We therefore wanted dedicated demonstration benches with good sightlines, sufficient space for apparatus and the ability to make experimental results visible to everyone. A demonstration should be a central feature of the laboratory, not something awkwardly improvised at the front of the room.
The Junior Lab

We also created a dedicated Junior Science Lab, primarily for MYP Science but designed to serve a much wider range of users.
Unlike the specialist Biology, Chemistry and Physics laboratories, this was intended to be a shared, multipurpose space. It supports MYP teaching, Sports Science, and practical activities for Primary students in Years 5 and 6, working alongside the Science Department.
It also serves an unexpected additional purpose: providing DP students with a space to conduct suitably safe experiments for their Internal Assessments and Extended Essays, including carefully controlled independent work.
The room doubles as an overflow workspace for our laboratory technicians. When no practical lessons are scheduled, they can use the additional bench space for preparation, equipment maintenance and other work.
Making a laboratory accessible to younger students and non-specialist teachers required more than just appropriate furniture. We developed procedures for collaboration, risk assessment and supervision, allowing more of the school to benefit from the facilities without compromising safety.
Giving students a genuine voice
I also wanted students to have an opportunity to contribute to the redesign, particularly those who might have an interest in architecture or interior design.
Rather than creating a formal committee, I simply went around speaking to our DP1 Art students, inviting anyone interested in architecture or interior design to try designing the new laboratories.
We deliberately avoided directing them towards our own solutions. I wanted them to approach the problem as designers and as students who had actually spent years using the existing facilities.
They produced a substantial presentation, including alternative layouts, storage arrangements, lighting, furniture and a surprising number of practical details. They then presented their proposals directly to the Head of Secondary, now Head of school Andy Roberts. He was incredibly impressed with their work.
What struck us was how many of their observations matched our own. Despite approaching the project from a different direction, they identified many of the same problems with the existing laboratories and suggested similar solutions.
They also came up with ideas we had overlooked. The most obvious, in retrospect, was a laboratory dishwasher.
They had considered the technician’s workload and recognized that cleaning glassware was a repetitive task that could potentially be automated. It was an excellent suggestion, and one that seemed obvious once somebody had said it.
Unfortunately, I only passed it on verbally into the subsequent design process and it got lost among the other details. Although dishwasher provision appeared in a later list of technical requests, I failed to make it a sustained priority.
From ideas to architectural drawings

With our designs submitted, the next stage was working with the architects to turn them into something that could actually be built. It was surreal seeing my ideas realised in official documents.
This involved a lot of back and forth. We reviewed drawings, suggested changes, received updated plans and repeated the process. Some of the changes were relatively minor, while others required us to rethink substantial parts of the layout.
Inevitably, some of our more ambitious ideas did not survive contact with the budget. Our original side-by-side layout, which was a compromise to ensure shared access through the crazy dividing cupboard/walls2, gave way to a front-and-back design, with the theory and practical areas occupying different ends of each room.
Looking back
After the summer I returned to see my design for real.
I stood in that empty room I thought to myself “this is my lab”.
I again have surprisingly few photos of the empty labs, just post construction. What I do have are close-ups of all the details, that needed fixing. Our punch lists covered lighting, ventilation, emergency access, gas and electrical systems, drainage and numerous big, bigger and small details that could make a substantial difference to a working laboratory. That is for another post. Let’s leave this on a high note
I was now Head of Science, in labs I was responsible for, in a deeper sense than is typical for a Head of Science. The good parts and the bad parts. The bad choices a person in 5 years time will complain about.
It was not simply a collection of benches, sinks and equipment. It is a complicated hub of teaching, preparation, experimentation, cleaning, maintenance and of course learning. Running it properly means understanding those activities and the people responsible for them. Too big a task. That was when I came up with the Vision for the Science Department. “Our Department”

- We designed the laboratories using SketchUp under a free educational licence in 2023. It was precisely the sort of project that made SketchUp so valuable: a teacher with an idea could create detailed 3D architectural mock-ups without expensive specialist software. Although a free browser-based version remains available to schools, the full desktop application now requires a paid subscription. It’s a shame to see such an accessible tool become less accessible to occasional designers. I am happy to have discovered https://hew3d.com/ as an alternative. ↩︎
- See the first image from the slides in section Re-Vision ↩︎
Leave a Reply